Installing light fixtures is a simple household job anyone can learn and get consistently good at with a little practice. But like for any electrical repair, you should take the right precautions and follow the right steps!
Before You Start
Check to see if you have all the recommended gear:
- A light fixture
- Screwdriver
- Ladder or step stool
- Circuit tester
- Safety glasses
- Wire stripper or utility knife
- Wire nuts (optional, depends on your fixture)
Step 1: Turn Off the Power
Never forget this important step. It’s for your safety above all, and it will also prevent any electrical hazards from happening.
If you don’t know which switch on your breaker box is the right one, do a few tests until you find the correct one.
Remain cautious though - turning off something on your breaker box doesn’t mean there’s no current coming through the wires.
Important: be sure to turn off the light switch you’ll be working on as well. Turning the circuit on with the switch already on is a potential hazard you can easily avoid.
Related: Improve Your Home With These 6 Weekend Projects
Step 2: Remove the Old Fixture
If you’ve already removed your old fixture or you’re just looking to install a new one, you can skip to step 3!

The way to remove your light fixture can vary, but generally, you’ll have to loosen the screws first to reveal the lamp - for bowl fixtures, you’ll also have to unscrew the bowl by turning it.
Once you do that, remove the lamp and unscrew the fixture from the ceiling.
Before touching the wires, use a circuit tester to make sure they’re not live.
Now, you’ll have to unattach the wires connected to the fixture with a screwdriver (or in some cases, wire nuts). At this point, you may need someone to hold the fixture in place while you do this.
Safety glasses are highly recommended here, as you’ll probably be looking up to dust and dead bugs falling from the fixture as you touch it.
Related: How to Use Your Extra Hour of Daylight Savings Time
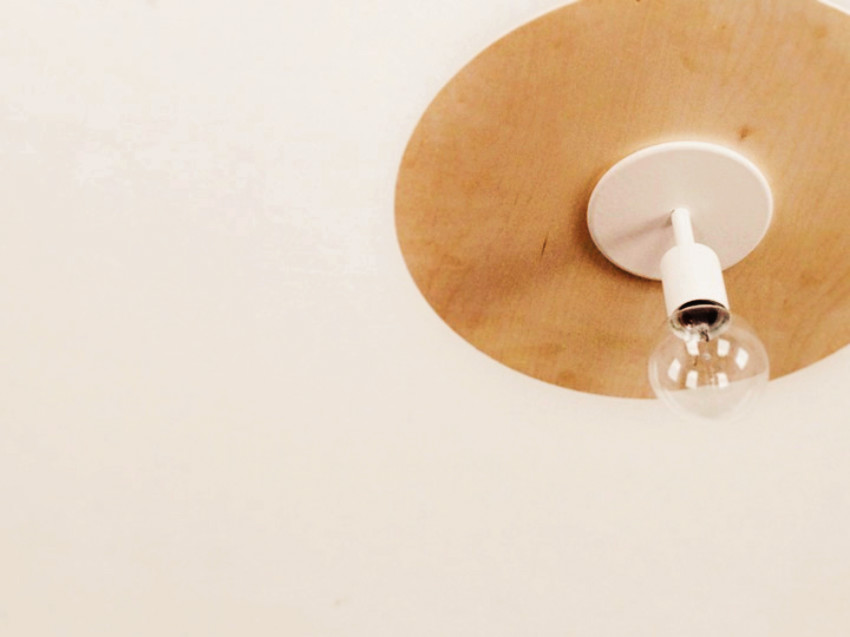
Step 3: Install the New Fixture
After removing the old fixture, you should see three wires hanging out from the ceiling: a white wire (neutral), a black or red wire (hot), and a copper wire (ground).
Every light fixture is different, so check out the instructions for yours before proceeding.
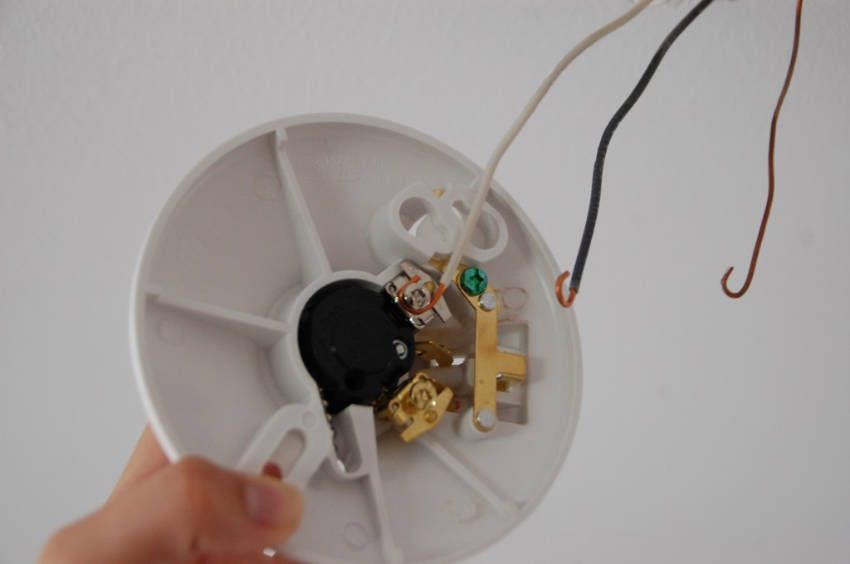
If your fixture comes with a plate, here’s a general look of how to connect the wires:
- White wire to silver screw
- Black/red wire to golden screw
- Copper (ground) to green screw
To attach the wires correctly, bend them into an “U” pattern as shown in the picture below, wrap around the correct screw, and tighten it.
If you have a hanging fixture, it may not have this plate and the wires will look a bit different.
Instead, you may use wire nuts, and the final connection should look something like this:

If the wires from your fixture aren’t colored, check your manufacturer's manual on how to identify which is the white wire and black wire to attach them correctly.
Related: How to Choose the Perfect Chandelier for Any Room in Your House!
Step 4: Turn the Power Back On
Now all you have to do is turn the power back on and see if it worked!
If by any chance the power is on but the light won’t turn on, turn it back off again and investigate carefully. Maybe one of the wires was poorly attached or is in the wrong place.
Alternatively, if something else happens that you can’t identify the cause, you can call a professional to finish the job for you.
Follow us on Facebook for more household tips! Have you managed to install your fixture? Did you have any doubts? Let us know!
Join the conversation