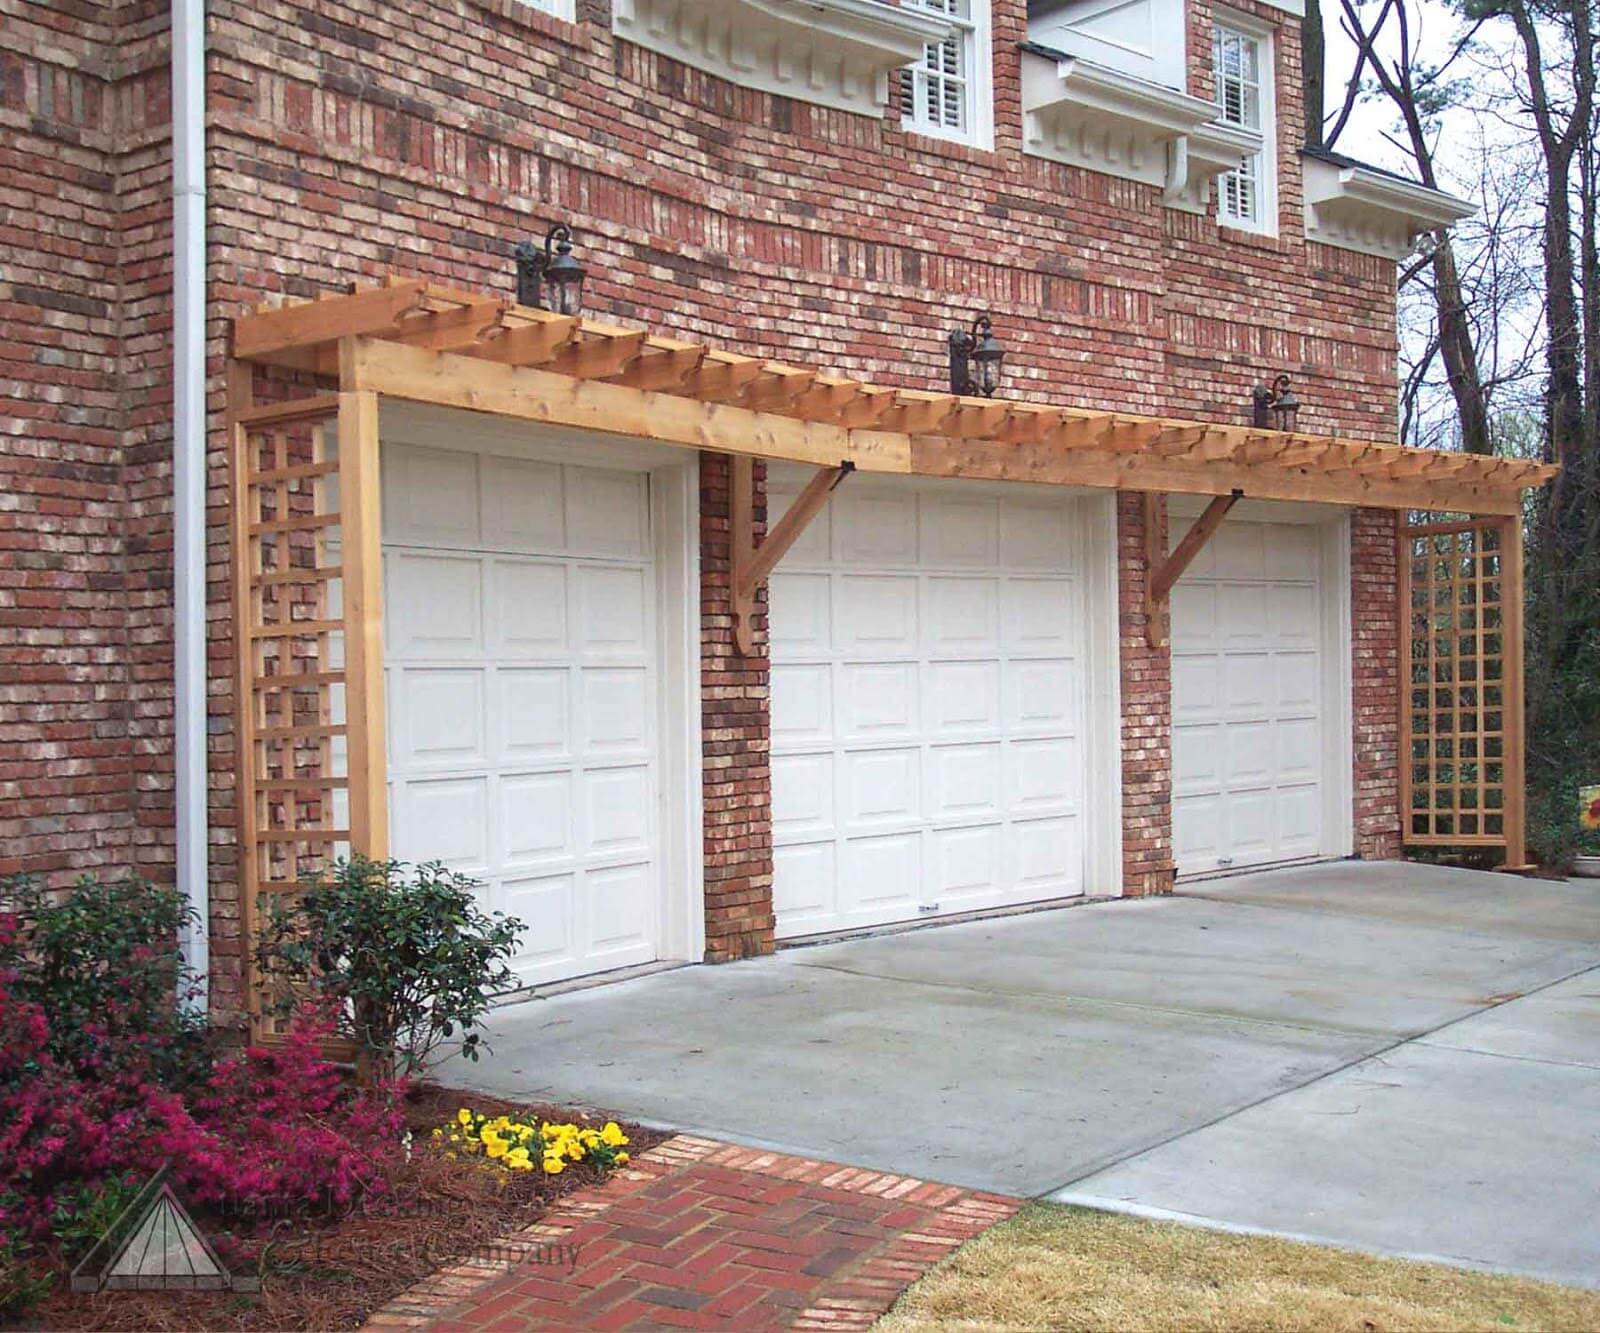
When you’re trying to get a little bit more out of your architecture than it originally came with, there are only so many options. However, one of the most applicable exterior remodeling options is the wood garage pergola. It’s one of the fanciest DIY projects that you can build for your garage. So without further ado, here’s how to construct a pergola over your garage.
“It was one of those March days when the sun shines hot and the wind blows cold: when it is summer in the light, and winter in the shade.” - Charles Dickens
1. Materials
Before we get started building, we need to go through what materials you’re going to need. Obviously lumber is going to be the main thing, but also the correct style of brackets, as well as simple tools. Your garage door pergola plans should include the following:
- 6 2x2 balusters
- 3 2x4 boards
- Port Orford cedar Original style end brackets
- Contemporary style center support
- Table saw
- Jigsaw
- Drill
- Level
- Clamp
- Measuring tool
- Pencil
- Paint or stain
2. Design Your Rafters’ Tail
This can be a simple little design that you cut yourself, just be sure to mimic it with the other rafters by tracing and cutting. Ideally it would be some sort of fin shape, but you can really get creative. If you’re stumped for ideas, take a look at one of the garage pergola kits found in hardware stores or online. Copy that design or modify it to your needs, either is fine. As long as all the rafters are uniform, you’re in good shape.
3. Cut Those Tails

Just use a jigsaw to cut out the tail design. This will give the wood garage pergola a consistent look. Not only that, but this is where really creative DIYers really shine. Crafting unique designs can boost the appeal of the pergola as well as your home.
4. Angle Purlins
Take your first 2x2, and set the table saw to a 45 degree angle. You’re going to want to make the incision ½ an inch below the top edge of the short side of the piece. Line it up and cut. These will shape the top of your garage trellis brackets. This will make your trellis stand out more and appear more uniform. Here are some table saw safety tips:
- Wear a dust mask
- Wear safety goggles
- Don’t wear gloves
- Don’t wear anything around your wrists
- Don’t position your body in line with the blade
- Wear proper foot attire
- Don’t set the height of the blade higher than 6mm above the stock
- Stay still until the blade stops spinning
- Cut the power before changing the blade or performing maintenance
- Cut only dry, seasoned, flat wood
- Release the stock only once it’s past the blade
5. Paint or Stain
Now an easy part. Paint or stain the individual pieces before you assemble everything together. You can start by sanding the parts first. This will make your garage pergola designs stand out. Alternatively you can seal the wood to have it last longer.
6. Drill Pilot Holes
Use your drill to create the pilot holes in the pergola. Obviously you’ll need a drill bit. Make sure the holes are aligned correctly and easy to navigate around so that the brackets are hung securely. Your garage trellis brackets are essentially the foundation of the entire unit. So you’ll want to make sure they’re hung properly.
7. Mount Brackets

Now the hard part, depending on what material your garage is made out of. For most wood or vinyl garages, a few screws are all that is necessary to hang the garage trellis brackets. However if you’re working with brick or concrete this could be a little more challenging. All that’s required however is a different type of drill bit. A masonry bit can be outfitted to all electric drills. This will allow you to continue with the installation process unhindered.
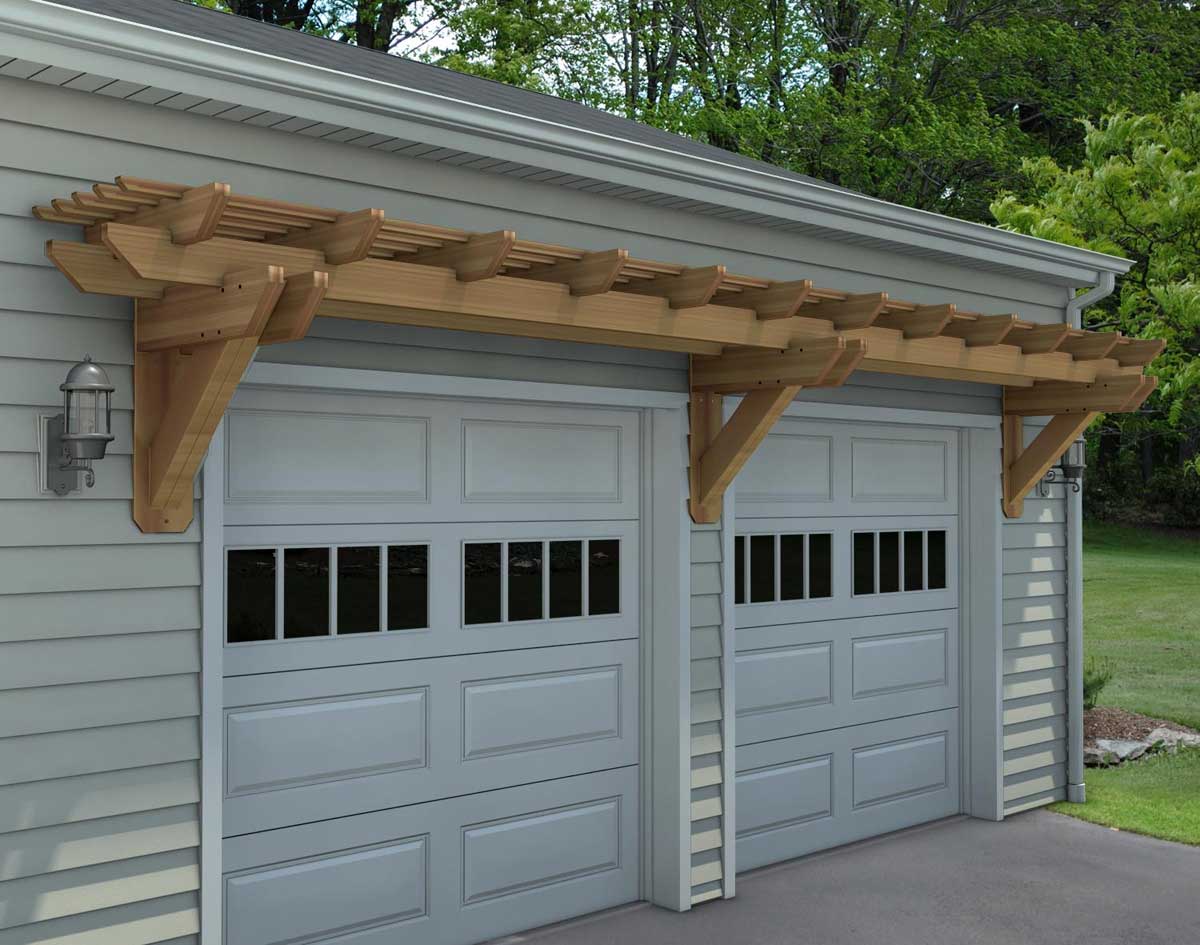
8. Assemble the Top Unit
The top purlins can now be laid down on the brackets to form the pergola. Be sure to align everything so that the pre-drilled holes line up. Garage pergola kits basically skip to this step. You can have brackets ready to go with a kit. In any case, once the unit is laid out you can begin the final step.
9. Fasten Everything Together

Use your drill to screw everything into place. Viola. You now have a beautiful pergola above your garage door, perfect for decor or a small garden. Whatever you’d like to do with it.
Trying to improve your garage with practical features? Do you like the look of a pergola hanging above your garage? Hire a professional from homeyou and get a free estimate! Be sure to check out our Facebook page for more ideas!
Continue Reading:
- Garage Remodeling Step 1: Insulation Installation
- Make Your Own DIY Pergola At Any Budget
- Luxury Landscape Features: Pergolas, Gazebos, and Arbors
- How to Design and Build a Room Above the Garage: Step 1 - Framing